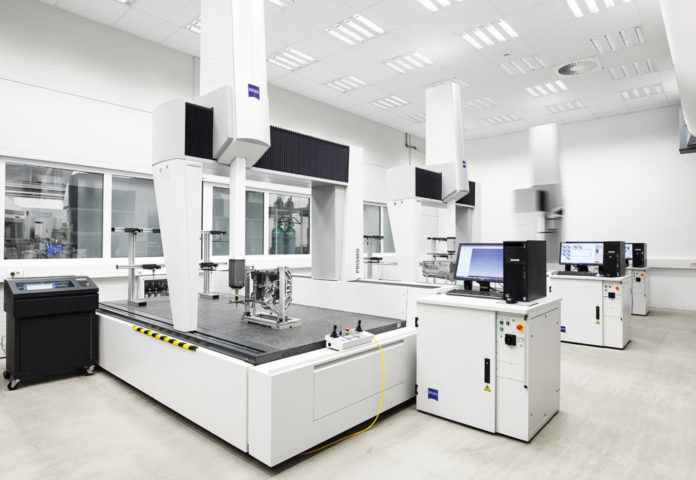
Automation helped save North American manufacturing when it was in crisis: globalization opened the way for factories overseas benefitting from cheaper labour and fewer regulations to compete against North American factories. As a result, the entire manufacturing sector in North America almost collapsed.
Helping it fight back was automation, the phenomenon where machine labour replaces human labour to increase efficiency and reduce costs. One of the most commonly associated with automation is the coordinate measuring machine, commonly known as a CMM machine.
CMM machines measure the physical geometrical characteristics of an object, either by a human operator or via computer program. The CMM machine’s third moving axis probes the part or object being scanned, and it compares the results of this scan against the part’s blueprint, which has been uploaded already into the machine.
The CMM machine knows the part contains a flaw if there is any difference between the scan and the blueprint. This feature, plus their ability to work via computer, makes them adept at performing quality control on production lines.
There are several different kinds of CMM machines available on the market today — read on to learn some helpful information about the four common types of them.
Table of Contents
1. Portable CMMs
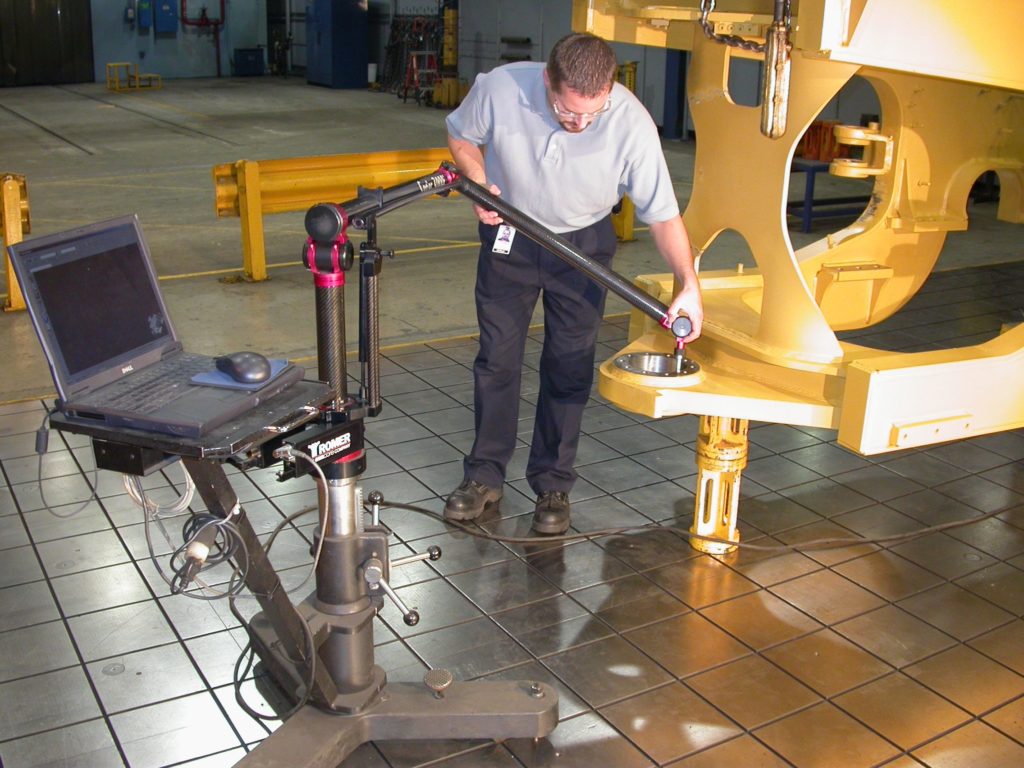
The most well known portable CMM machine is the ROMER Arm. It’s designed to perform quality control, virtual assembly, on-machine verification, and also 3D modelling. It is popular among different kinds of engineers for the way it is able to reverse engineer blueprints from already existing parts.
Portable CMMs are known for being very tough and accurate machines. The arm on the portable CMM swings around the part being scanned, so as to measure the dimensions of every side. The flexibility of the Romer Portable Arm allows it to measure components that are much larger than the arm’s measuring span by leapfrogging over larger components. They have software in them which allows multiple part setups to be integrated together, so as to create one inspection program.
Its integrated scanning system makes inspection possible right on the shop floor. The portable CMM’s white light or laser system manages to collect thousands of data points a second.
Like its name suggests, the Absolute Arm is totally portable. Each of its components fit into a hard-sided case that has wheels attached. It can be transported easily via a small car, so it’s simple to move it through an airport or anywhere within your factory. Finally, it can be quickly disassembled and put back together in minutes, without the need for any further calibration!
This is a brilliant machine that is the best portable measuring device available on the market today.
2. Bridge CMMs
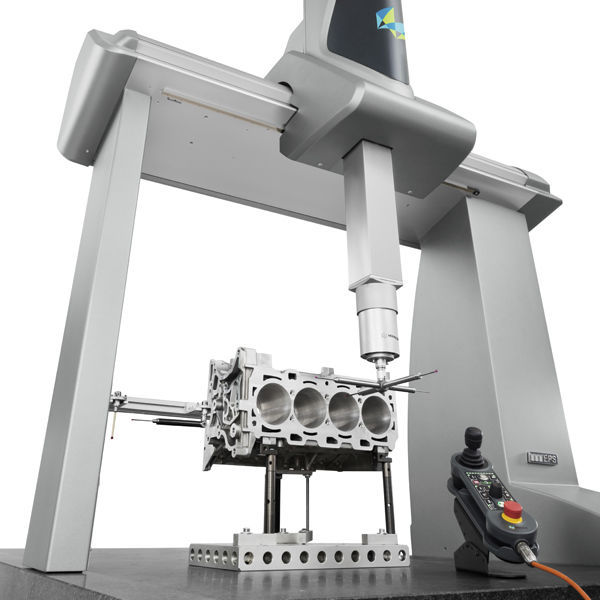
Bridge CMMs have been the mainstay of coordinate metrology for a few decades, and they’re still the most commonly used CMM machine today. They can handle a very broad range of part sizes, making them useful across a broad range of industries.
However, Bridge CMMs have also evolved a lot over the years, and today’s models have greater capabilities than the ones from decades ago. For example, the measurement process in today’s machines can provide data required for the application, and it also fits neatly into the production workflow and cycle times.
They deliver very precise, reliable and repeatable results, all at a compelling price point. Bridge CMMs are still incredibly popular today, with only relatively simple mechanical modifications made to the design of the original models.
3. Gantry CMMs
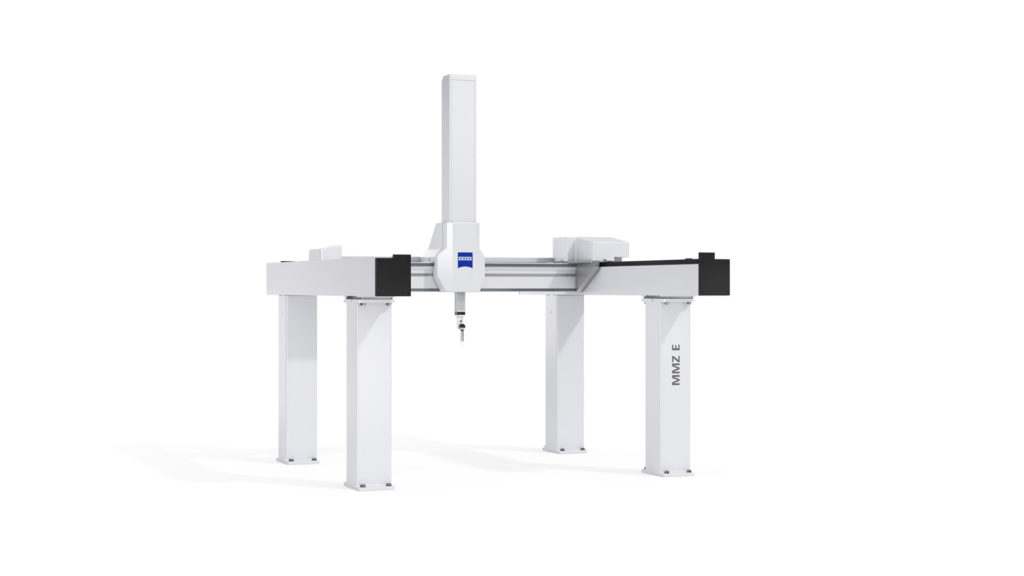
Gantry CMMs are just like Bridge CMMs, only they’re designed to handle much larger and heavier objects and parts. This makes them perfectly suited to the automotive and aerospace sector, which have production lines building parts used for cars, planes, and even spaceships.
The company DEA from Italy was the first to manufacture Gantry CMMs, and they are still the leader in large coordinate measuring machines installed around the world. The Gantry CMM is the only way to guarantee high precision when the parts or objects in question are between 1.5 to 20 metres.
The Gantry CMM’s open access to the measuring volume makes it easy to load parts by crane or forklift. They are generally durable, low-maintenance machines because the guideways and drive systems are located safely away from any dirt or contaminants.
Plus, the machine isn’t easily damaged by parts loaded incorrectly or components being trapped under a bridge because the reference plate is completely separate from the structure. Also, Gantry CMMs are ergonomically better for the operator, who can closely observe the feature being measured during programming, as they can walk within the machine’s measuring volume.
4. Vision and Multisensor Systems
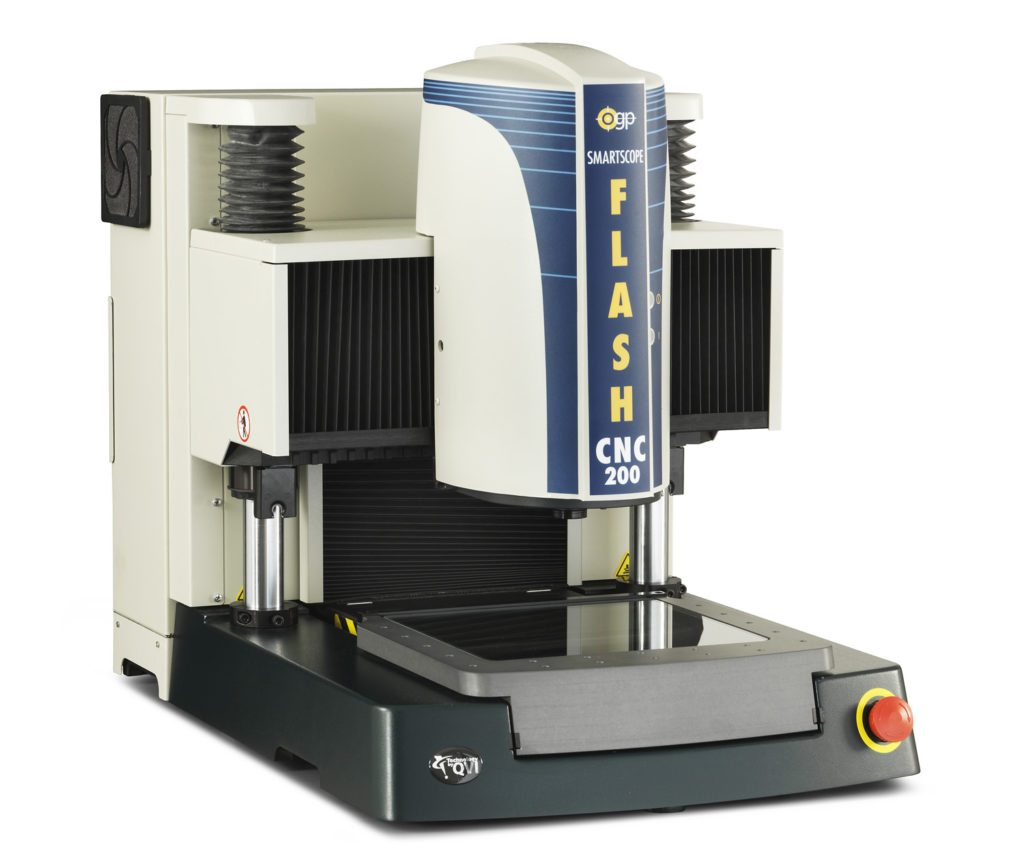
At the other end of the spectrum, sometimes a part of object is too small to be scanned or measured through a tactile probe or physical contact. In these cases, a Vision and Multisensor System is required.
Video scanners and white light scanners measure parts smaller than 600 millimetres squared in area, and less than 200 millimetres tall. These machines have a very small footprint, taking up very little space on your factory floor, allowing ample space for other equipment or tasks.
Multisensor systems also allow a variety of measuring strategies. It can take an Optical approach for features that can’t be easily accessed by a conventional probe. Touch probing works great for three-dimensional components, and Laser is ideal for delicate or incredibly complex areas that need to be measured.
Multisensor systems are also fast, even up to three to five times quicker than an ordinary CMM machine.CMM machines have already played an enormous role in helping to save North American manufacturing when it was in dire trouble, and they continue to evolve and be in use today in factories everywhere. Those which bring this much efficiency will help your company weather the volatility of the manufacturing sector. Sometimes the nature of what your factory produces will dictate which of these four CMM machines you need, but there are options within each broad category, as well as for software. Talk to a metrology specialist to determine which one best meets all your manufacturing needs today.


